Below are instructions on your first steps submitting 3dsmax jobs with Qube!
Step 1 (First Time Only)
You will need to install the 3dsmax jobtype
Installation:
3dsmax requires the "3dsmax jobtype" to be installed
If you are not familiar with the installation process please see Installation Guide & Installation Layout
You will need to select "3dsmax Jobtype" during the installation process

Step 2
Once installed you should be able to locate the "Qube!" menu in 3dsmax
InApp Location:

File menu > Qube!
Step 3
With a scene loaded in 3dsmax choose "Submit Render..." or "Submit Batch Render..." depending on your requirements
This will present a pre filled submission UI

Step 4
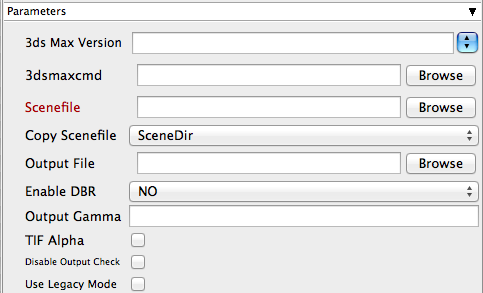
Ensure sections marked in red have the correct details
Click submit

For further details on the submission UI look in the right panel
Troubleshooting
If you find you are getting errors here are some useful links for troubleshooting
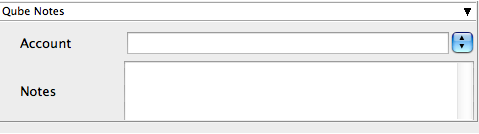
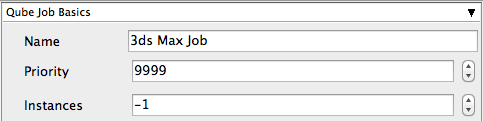
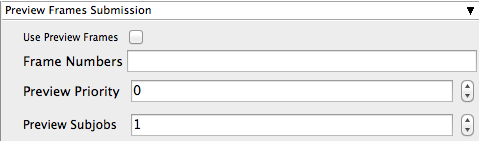
Below Is a detailed expandable view of the "3dsmax Job..." Submission UI
Please click on the text below the section of interest
Detailed Field Explanations:


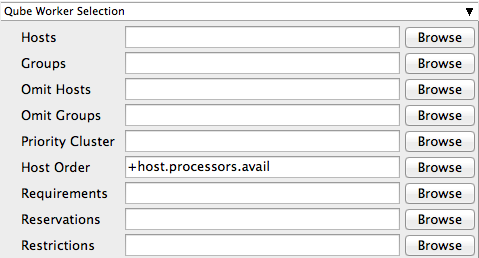
Hosts
Tooltip - Explicit list of Worker hostnames to run the job on (comma-separated)
Groups
Tooltip - Explicit list of Worker groups to run the job on (comma-separated)
Omit Hosts
Tooltip - Explicit list of Worker hostnames to NOT run the job on (comma-separated)
Omit Groups
Tooltip - Explicit list of Worker groups to NOT run the job on (comma-separated)
Priority Cluster
Tooltip - Worker cluster that the job has elevated priority to run on

Host Order
Tooltip - Order to select Workers for running the job (comma-separated) [+ means ascending, - means descending]

Requirements
Tooltip - Worker requirements needed to be met for job to run on that Worker (comma-separated, expression-based)

Reservations
Tooltip - Worker resources to reserve when running job (comma-separated, expression-based)

Restrictions
Tooltip - Restrict job to run only on specified clusters ("||"-separated) [+ means all below, * means at that level]

See Also
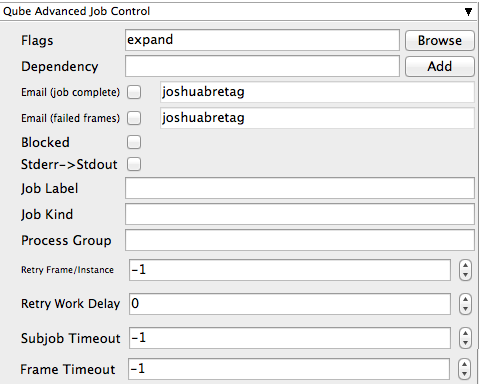
Flags
Tooltip - List of submission flag strings (comma separated)
| Click browse to choose required job flags
|
|---|

Dependency
Tooltip - Wait for specified jobs to complete before starting this job (comma-separated)
 | Click Add to create dependant jobs you can link jobs states to each other by several factors "complete" means only start this job after designated job completes "failed" means only start this job if the designated job fails "killed" means only start this job if the job has been killed "done" means start this job if the job is killed/failed/complete |
|---|
Email (job complete)
Tooltip - Send email on job completion (success or failure)
Email (failed frames)
Tooltip - Send email on job completion (success or failure)
Blocked
Tooltip - Set initial state of job to "blocked"
Stderr->Stdout
Tooltip - Redirect and consolidate the job stderr stream to the stdout stream
Job Label
Tooltip - Optional label to identify the job. Must be a unique within a Job Process Group (pgrp).
Job Kind
Tooltip - Arbitrary typing information that can be used to identify the job. Common usage: it can be used to restrict only 1 of this "kind" of job from running on a worker at the same time by setting the job\'s requirements to include "not (job.kind in host.duty.kind)"
Process Group
Tooltip - Job Process Group (pgrp) for logically organizing dependent jobs. Defaults to the jobid. Combination of "label" and "Process Group" (pgrp) must be unique for a job.
Retry Frame/Instance
Tooltip - Number of times to retry a failed frame/job instance. Value of -1 means use the default for the studio.
Retry Work Delay
Tooltip - Number of seconds to wait before automatically retrying a failed frame/work.
Subjob Timeout
Tooltip - Kill the subjob process if running for the specified time (in seconds). Value of -1 means disabled.
Frame Timeout
Tooltip - Kill the agenda/frame if running for the specified time (in seconds). Value of -1 means disabled.